If you have ever read anything about using Pinterest for your blog, you have probably heard that you need to get started on Pinterest and more specifically, set up a Pinterest Business account. A business account is beneficial for multiple reasons:
- You can add your own content on Pinterest which in turn can drive MAJOR traffic to your website/blog
- You get access to FREE analytics for your Pinterest account
- You can run ads, if you choose to do so
Setting up a business account on Pinterest is really easy and it’s free- so there is no reason not to do it!
Now, whether you already have an account that you use for personal reasons, or if you want to start from scratch- you are in the right place!
1. Sign up or convert your current account
If you need to sign up for the first time, you can do so here. If you already have a personal account that you want to convert, click here, then enter in your sign in info. Or do so from your home page, as seen below:

2. Verify your Website
This step is super important (so don’t skip over it, ok?) In order for Pinterest to give you those awesome analytics, then they need this info. It also will make sure that all the pins from your website will have your logo attached to them which promotes more visits to your site (win!) Here we go…
First, go to your profile and click on the settings button. Then, click on “claim website” button. Mine is already claimed, but you can see what this looks like below:

After you have added in your website information and clicked Claim, then copy the code and head to the back-end of your website.
Add the code into the <head> section of your website. If you aren’t a tech savvy person (don’t worry!) I love using the plugin Insert Headers and Footers so you can just plug the code in there!
Once the code is inserted (and saved), head back to Pinterest and click “Finish”. It might take up to 24 hours for your site to be verified but if you followed the step above you should be good to go!
If you need more help, I find this article super helpful! Or feel free to contact me and I can get it set up for you!
3. Create boards relevant to your niche
I recommend creating at least 10 boards that are relevant to your niche.
Take a look at my account for some inspiration or search for other bloggers in your niche for board ideas.
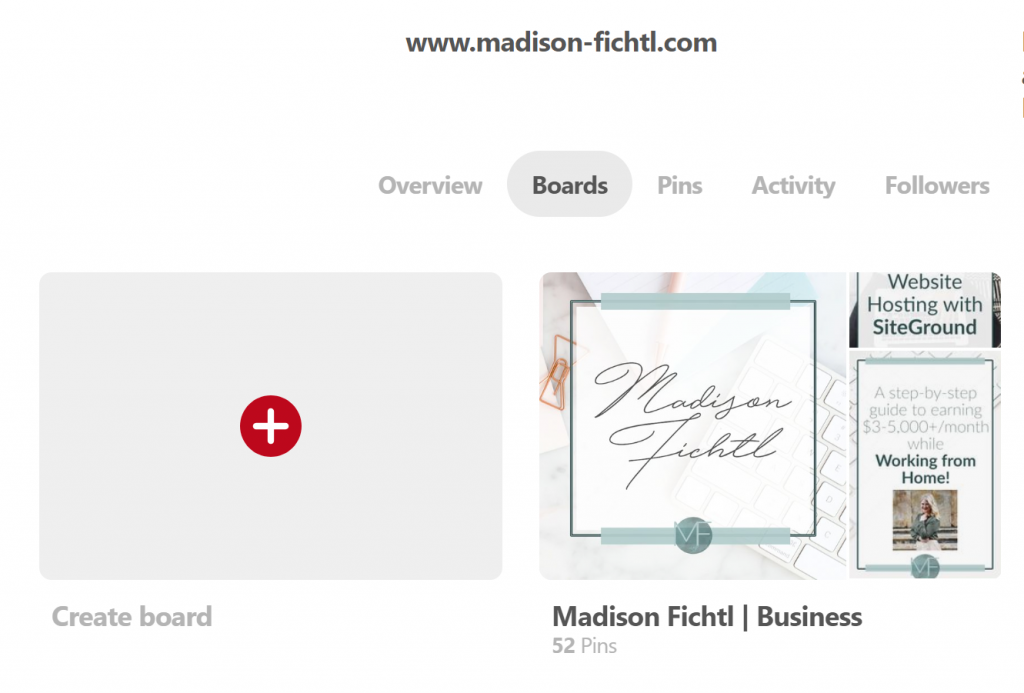
To create a board, all you do is select “Create Board” from your profile and add in the desired name. Once the board is created, you can edit it by clicking on the pencil icon beneath the board.

You will want to make sure that all of your boards have a keyword rich description and category. Feel free to add a cover if you like the look of them (however, this is not necessary).
4. Start Pinning!
You did it, you are now ready to get started on Pinterest! Your account is all set up and now you can get to pinning! I highly recommend using Tailwind to schedule about 20-60 pins per day. Check out this post for my video Tailwind Tutorial!
Like this post? Share it on Pinterest!


Leave a Reply