After binge watching The Home Edit on Netflix, I knew we needed to redo out pantry. It is a great size room but the shelves that were there when we moved in, were all uneven and thin. And it just didn’t look nice so I dreaded going in there. I am so excited to share the final Kitchen Pantry Makeover with you today!
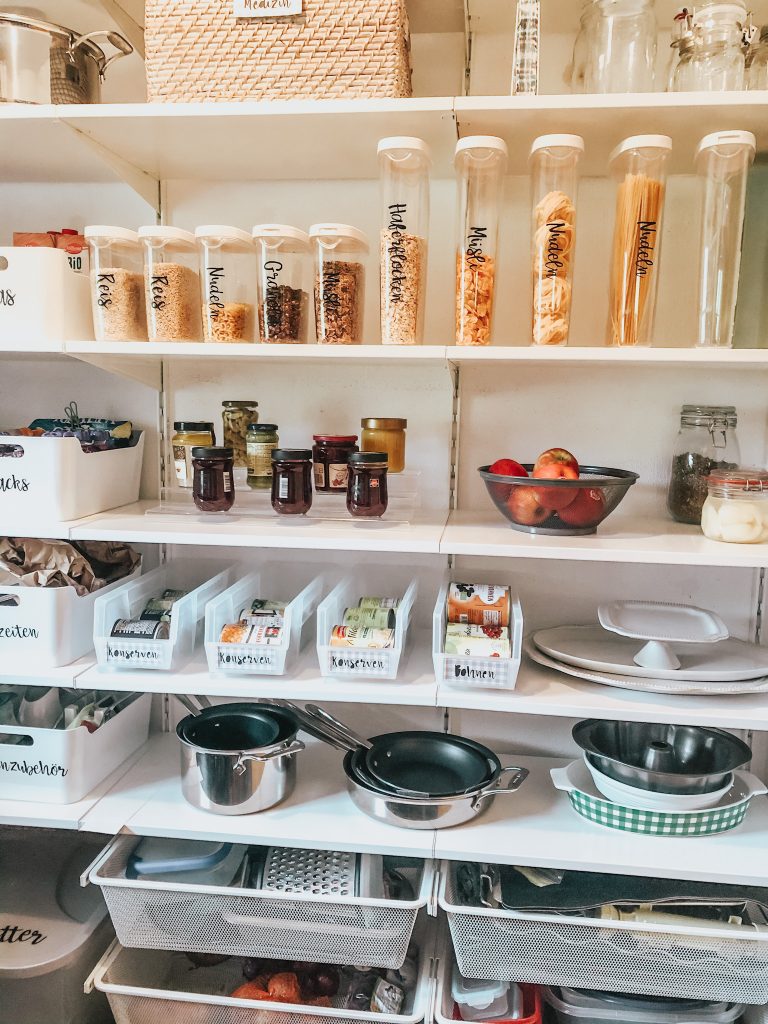
Kitchen Pantry Makeover
The first thing that we needed to do was order new shelving units. I didn’t want to spend a ton of money on this but I wanted to make sure that it maximized the space that we had. I was able to design a BOAXEL shelving unit on IKEA using their BOAXEL planner. It was a great fit for the room, leaving just a few inches on each side of the unit before the walls.
Plus I loved how much deeper the shelves on the BOAXEL were compared to the previous shelves. We gained SO MUCH space just by having deeper shelves – which you can really see in the before and after.
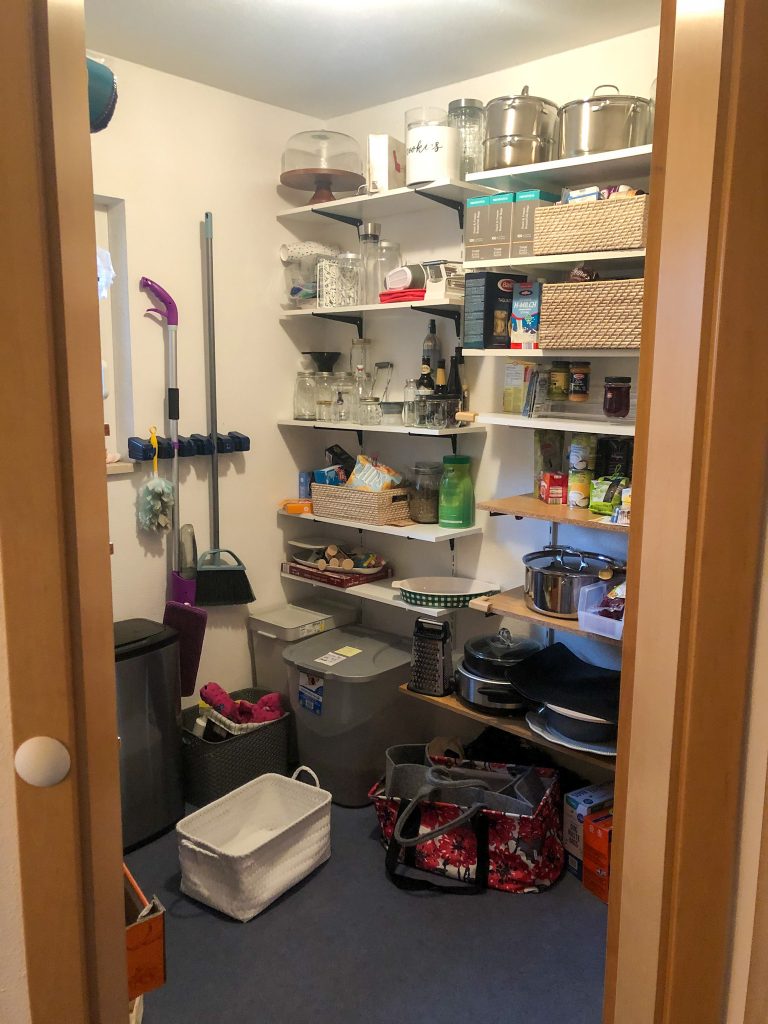
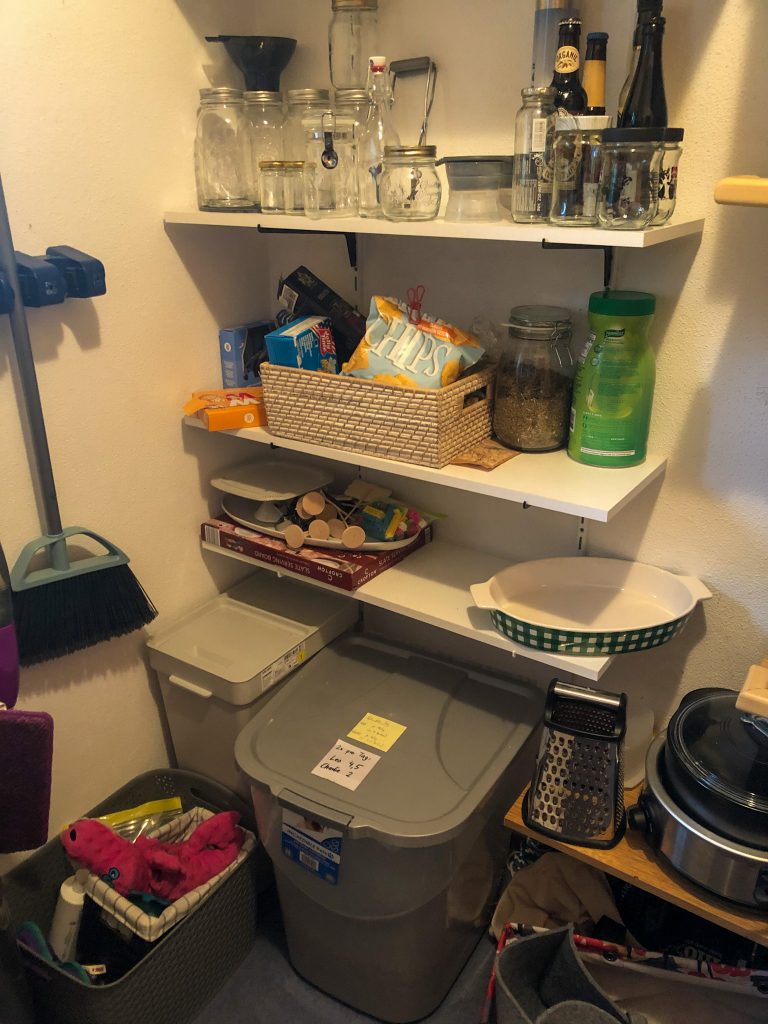
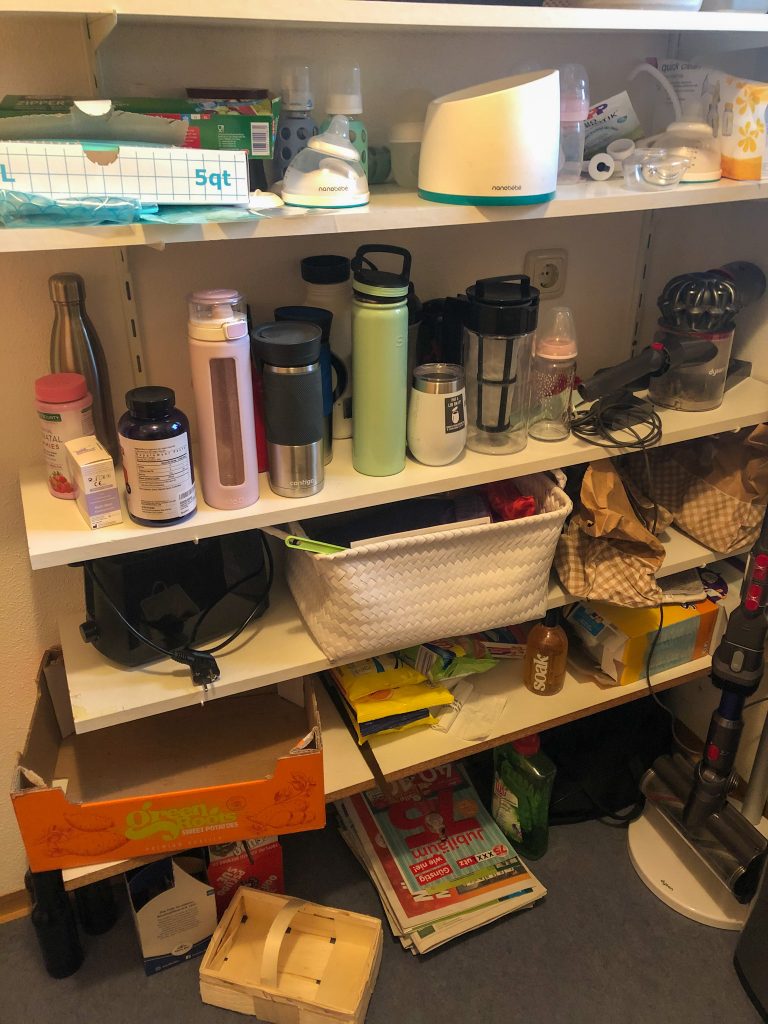
Before Pictures
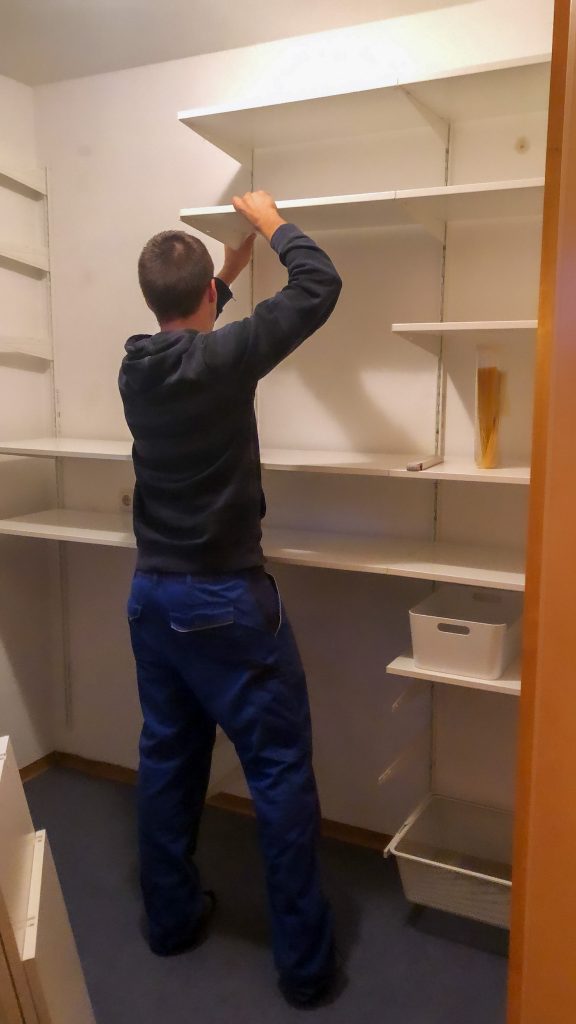
Here are some of the “before” pictures. Don’t judge me haha! As you can see the uneven shelves didn’t give us much storage in this large room. We did keep the shelves from the left side of the room because they were at least continuous and the maximum depth that would fit on that side.
The shelves were relatively easy to hang (at least that what Manuel tells me haha). And he was able to get it finished pretty quickly. I love that you can move everything around. We were able to determine the different heights of each of the shelves once we got it. And we can always adjust this in the future if we need to.
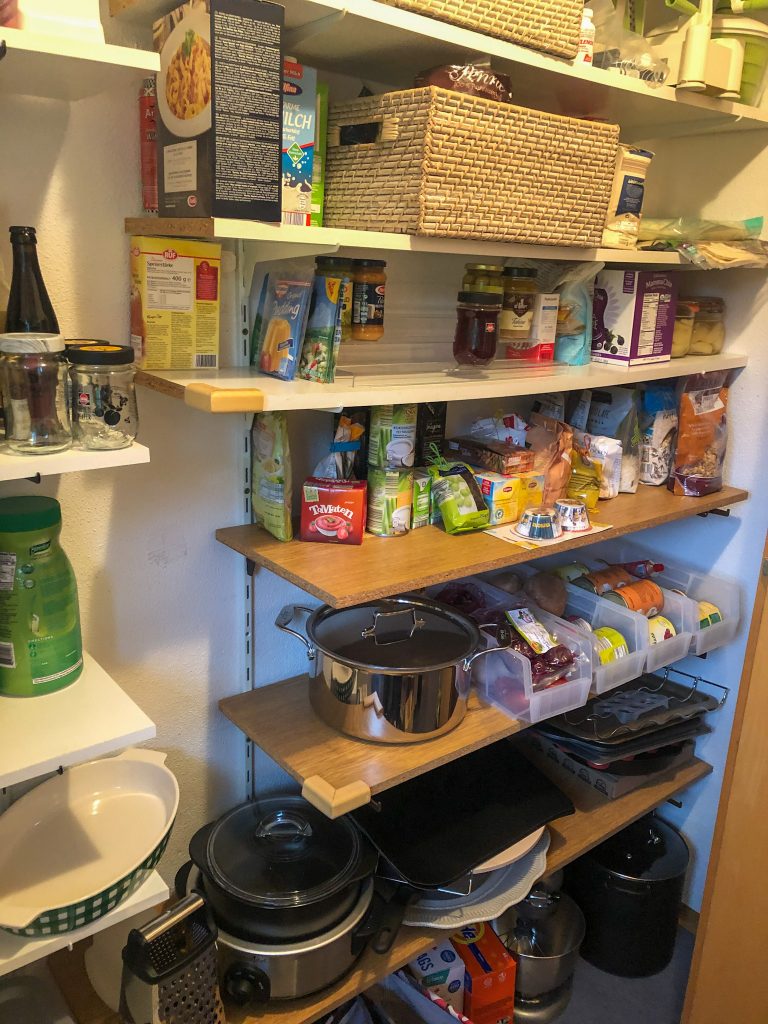
After Pictures
Once all the shelves were up, I was able to figure out where I wanted things. I actually put everything in, and then ended up rearranging it about 2 weeks later. Once I figured out where I wanted to put the things we used most often.
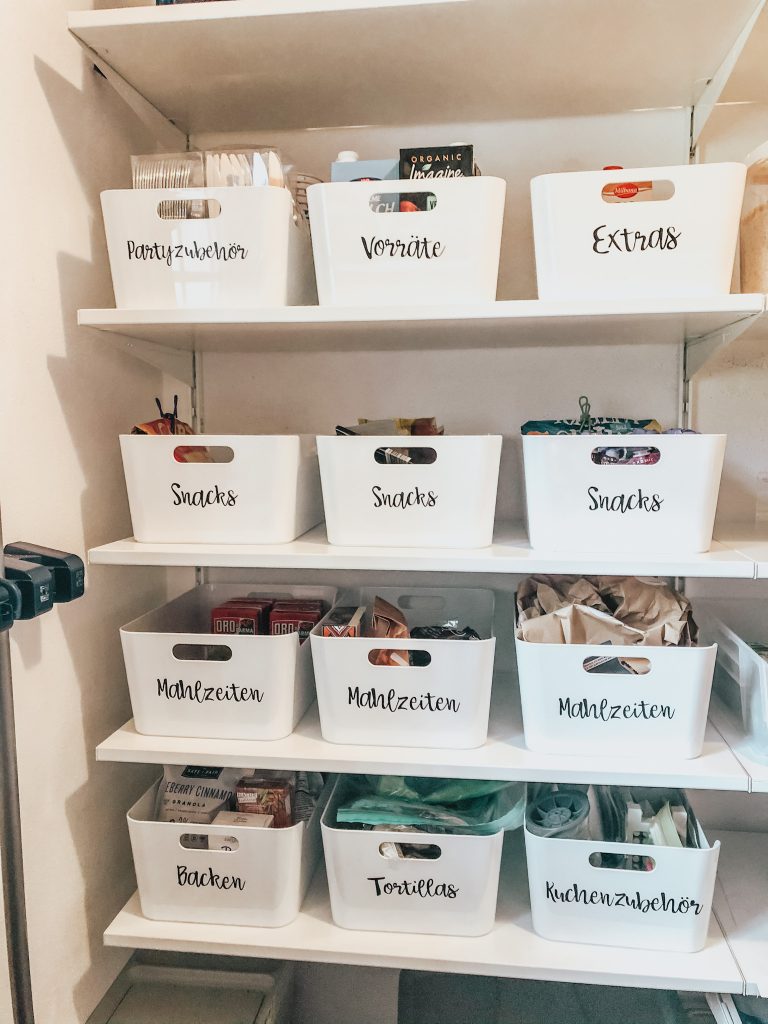
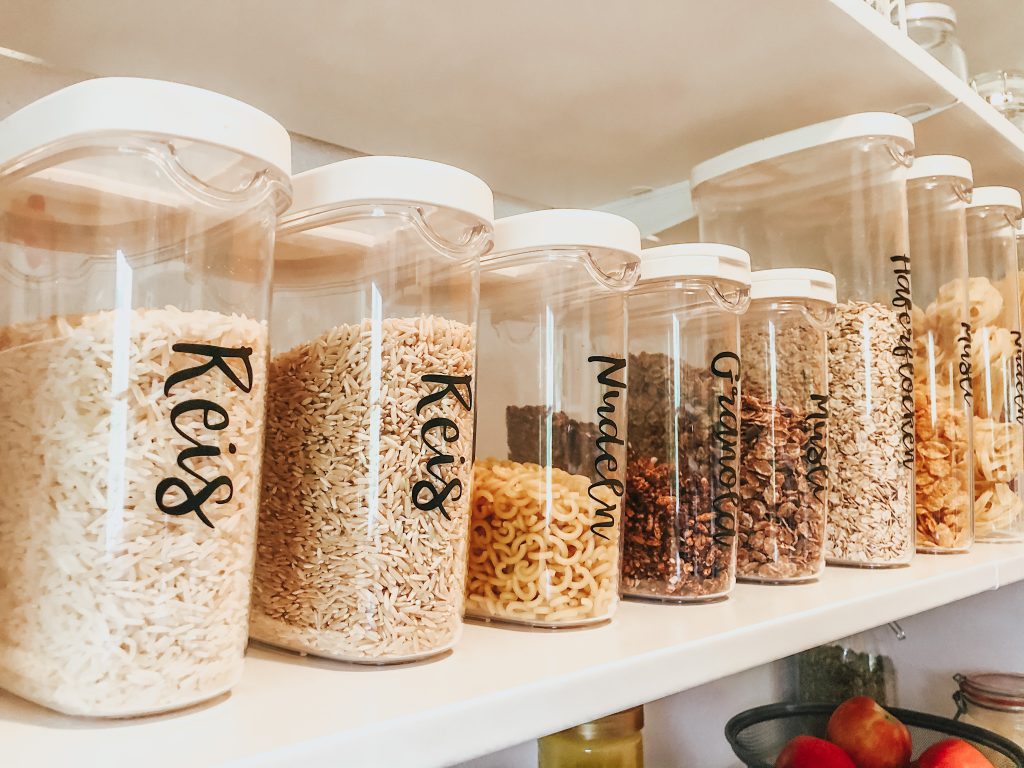
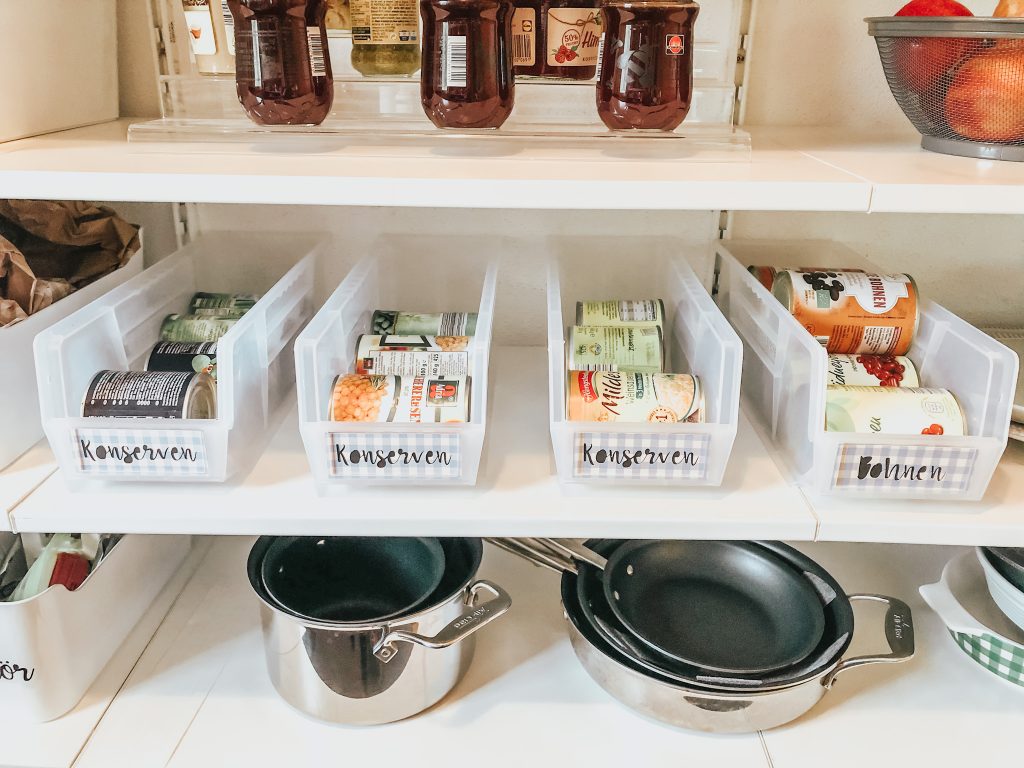
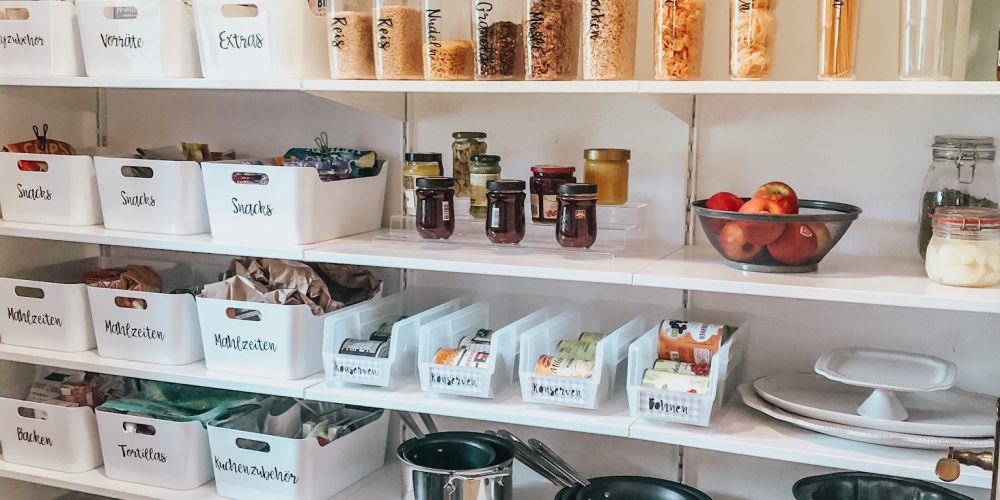
I loved the clear containers and white boxes that I got from IKEA. They were much cheaper than the ones at The Container Store! And I used my Cricut Joy to create the labels for everything.
When I shared some of these updates on my Instagram stories, I got a few messages about it not staying this way. Due to having Leonie, I wasn’t able to take the “after” pictures until we had it done for over a month. And before I took the pictures, I didn’t touch anything. So I am fairly confident we developed a system that will sustain itself longterm.
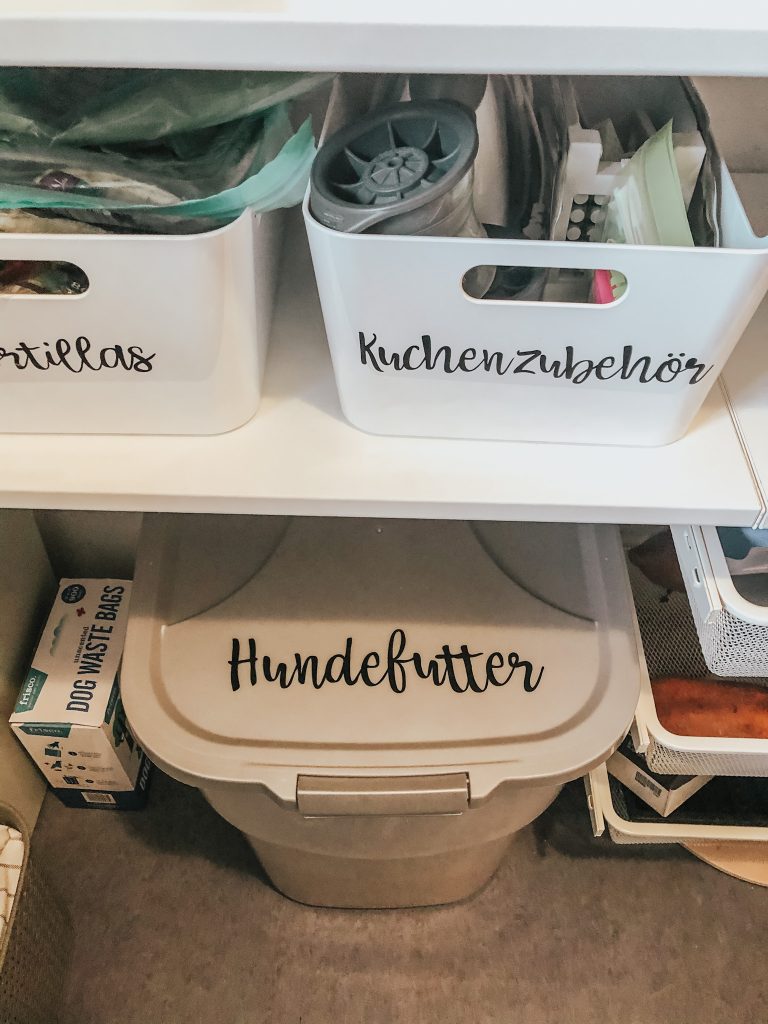
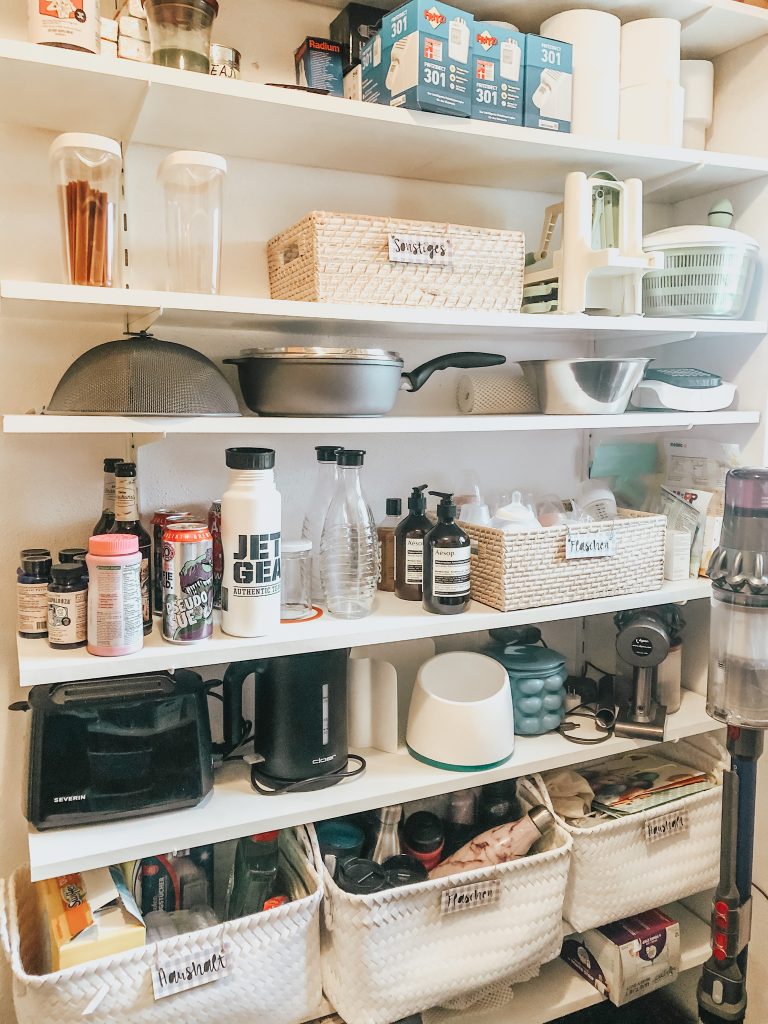
Also, everything that was in the “before” pictures was put back into the pantry for the “after” pictures . We didn’t get rid of anything even if it looks like we did. We actually even moved quite a few pots and pans from the kitchen into the pantry after we redid it!
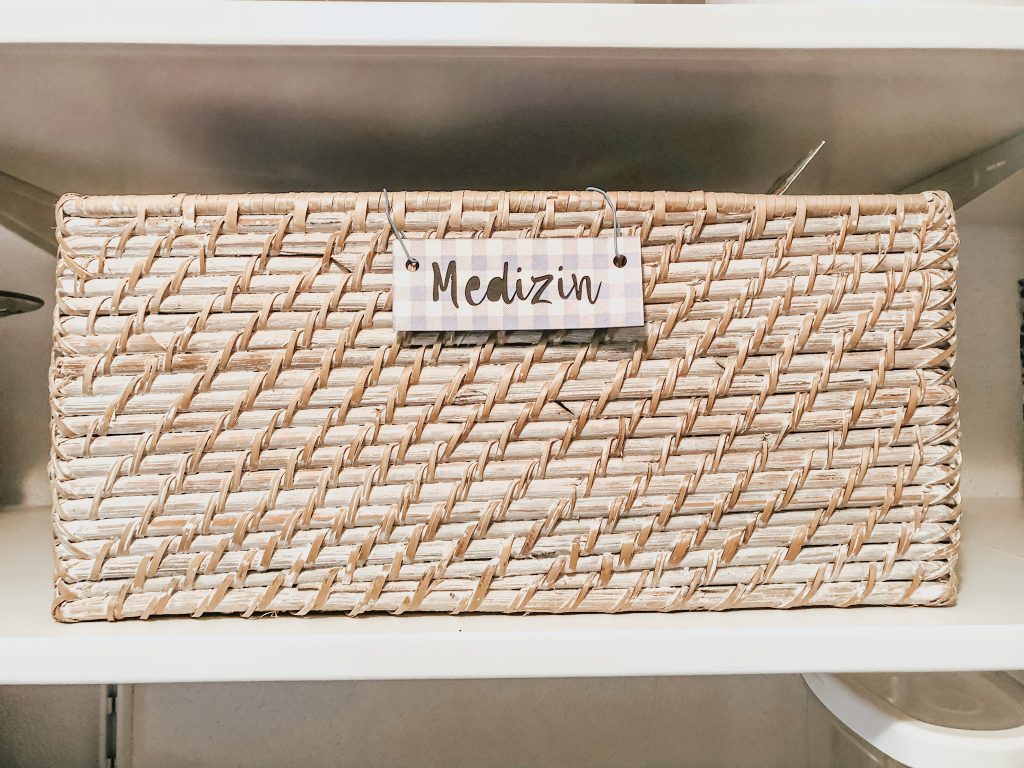
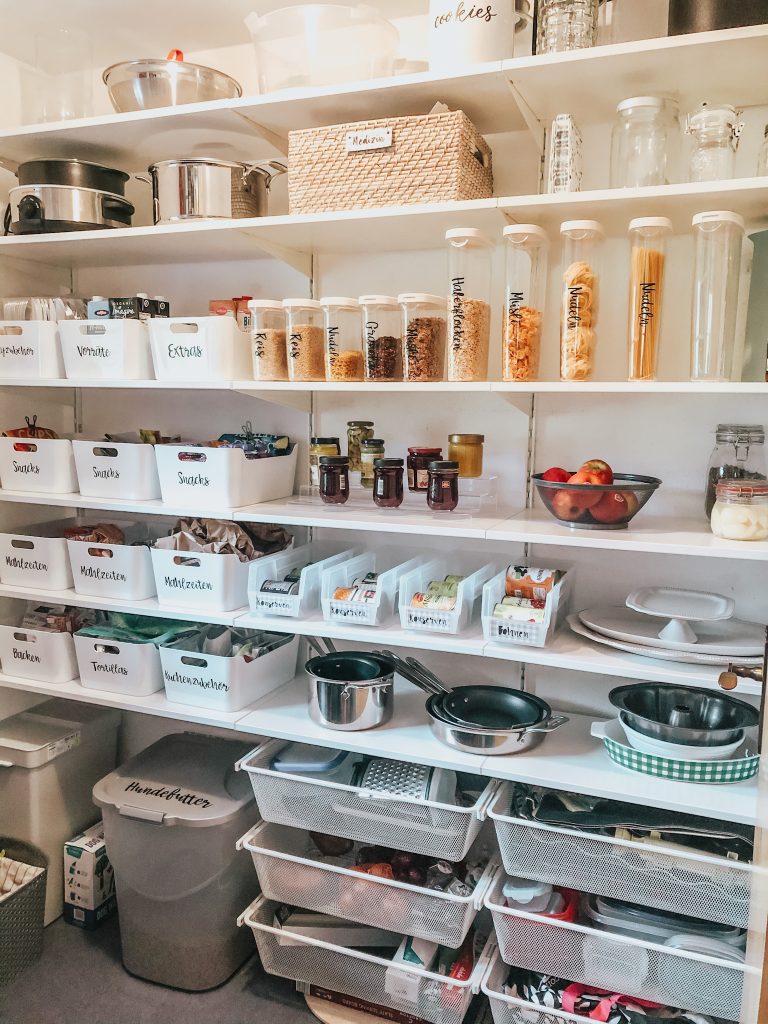
Overall, I am so happy with how our Kitchen Pantry Makeover turned out! I absolutely love going in there now – it is so functional while still being pretty! And we did the entire makeover for about $300 – which I was super happy with!
Check out the side by side comparisons below – it’s a pretty awesome difference!
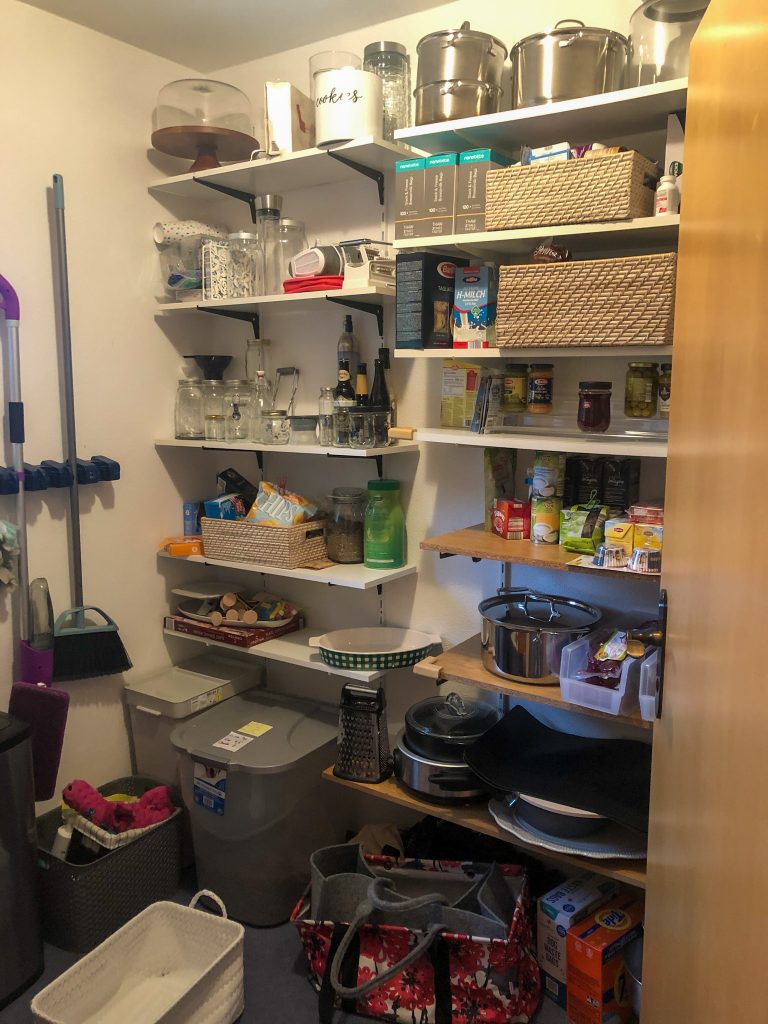
Before 
After
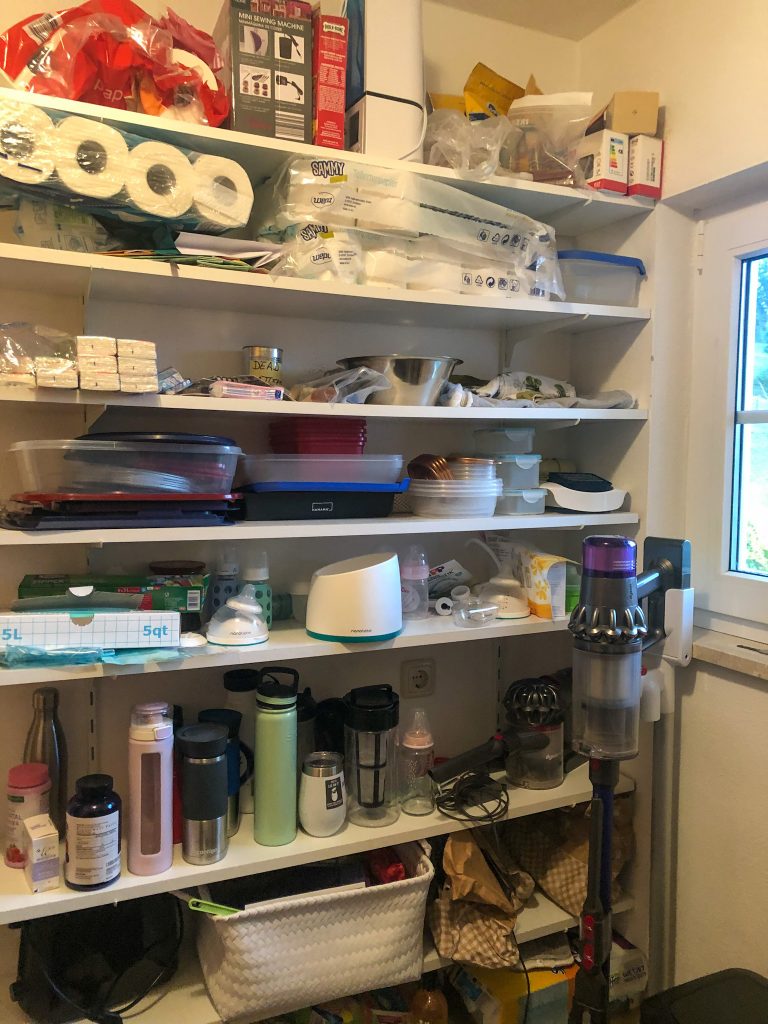
Before 
After
Related post: Living Room Decor – Home Tour




Recently found your site. We’re looking to use Boax for our pantry, but was very concerned that over time it would not be able to handle weight. Curious if you still have Boax in your pantry and how has it held up.