Hi there! If you have been following along with me on Instagram, you know that we are working on updating some parts of our house. We moved in May 2020 (funny story, we actually moved in the day that Leonie and I came home from the hospital after I gave birth – not recommended haha).
And the next project I was dying to tackle was the half bathroom. It is a really small space with just the toilet and sink but it looked dark and outdated. I did some research and came across the WallPops Floor Tile Stickers which seemed almost too good to be true.
WallPops Floor Tile Stickers Install and Review
The WallPops Floor Tile Stickers looked like a way that we could easily change the look of the tiles, without permanently altering them. Since it is our only bathroom on this floor, I was scared to paint the floor and then have to deal with the smell for multiple days. These WallPops Floor Tile Stickers seemed like the perfect and inexpensive way for a quick update!
I was able to find them in Europe on Amazon, and while the patterns that are available in Europe aren’t as many as in the United States, I was still able to find a few that I liked. I had a really hard time deciding between these two patterns:
The left is Radiance and has blues, whites, creams and browns in it. The right is Comet and is black and white.
I thought they both would look great, and because it was such a small space, I knew it would be fun to go with a kind of crazy pattern to really brighten the space. Ultimately, we decided that we liked the blue pattern a bit better.
The tiles arrived and once we put Leonie down to bed that night, I was too excited to wait so we dove in.
Here is the bathroom before we got started:
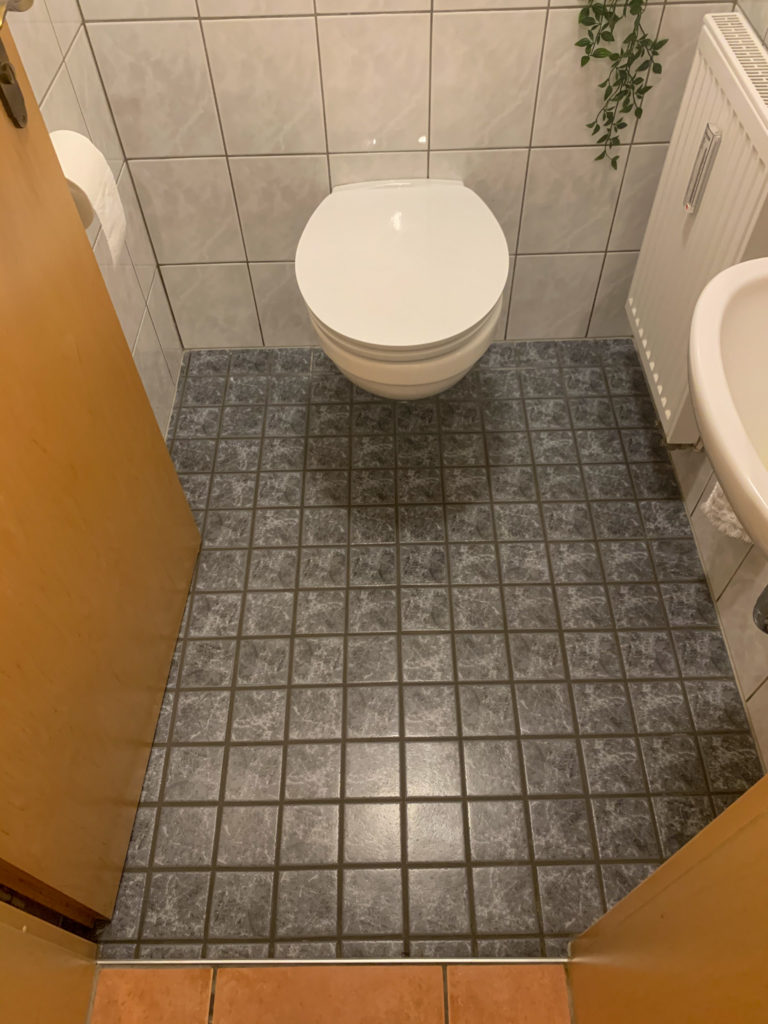
First Step – Cleaning
This is super important for them to stick well. I had read reviews of people that used special tile cleaner and then let the floor sit for a few days before applying… but like I mentioned this is our only bathroom on this floor so we didn’t really have that option. Instead, I scrubbed the floor with a floor cleaner making sure to get all the corners and grout really well.
Second Step – Lay out WallPops Floor Tiles
The next step is to lay out the floor tiles to see how you will need to cute the outer edges. The instructions said to start laying the tiles in the middle of the floor but since the room was so tiny, that didn’t really make sense. So we started at the top corner and knew that we would need to cut all the tiles by the door.
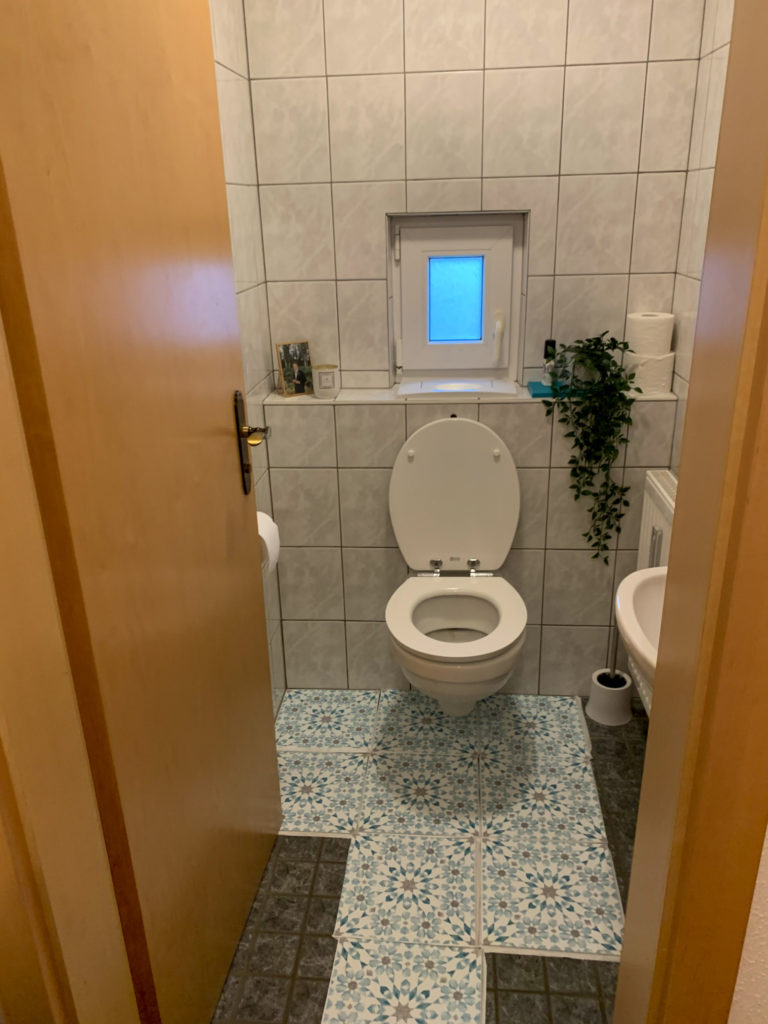
Third Step – Peel and Stick
Ok, this was way easier than I thought it would be. All you have to do is peel the backing off (much like a sticker) and then press down the tile to the floor. I made sure to press really hard once we had them in place. Also, the sticky part is SUPER STICKY! If you get it on anything else, you might need to get a special grease cleaner to get it off. I accidentally laid one down on top of part of another tile and it took me awhile to be able to get the residue off. But I guess that is as a good sign – since they are made to be semi-permanent.
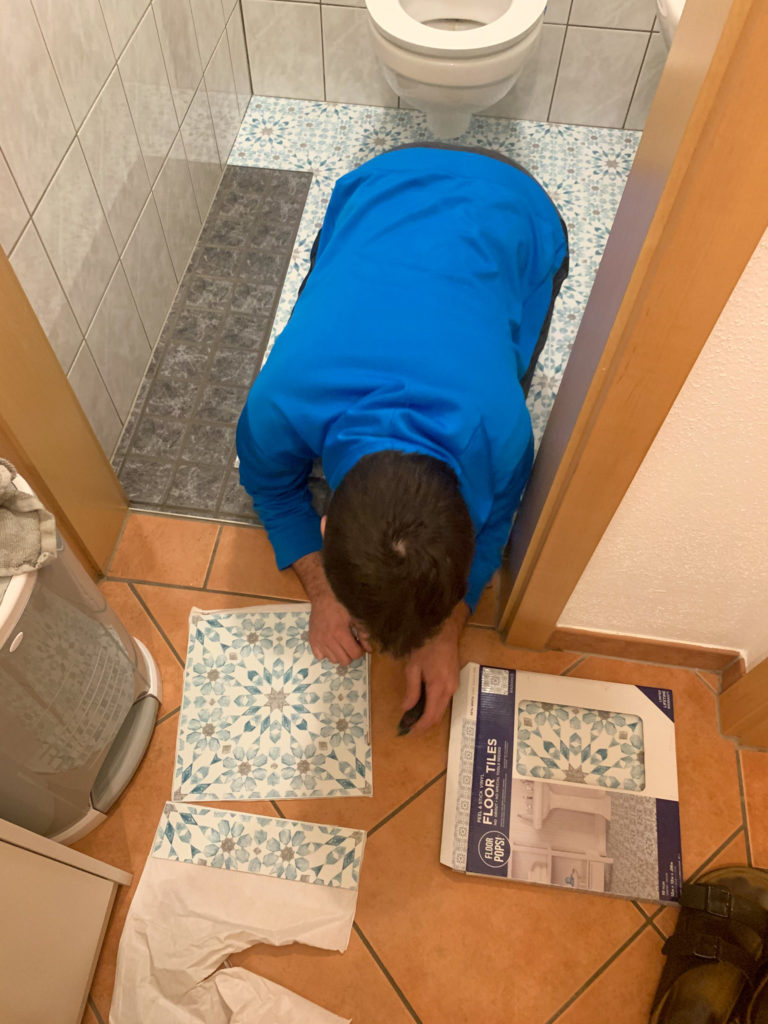
Fourth Step – Cut any remaining tiles
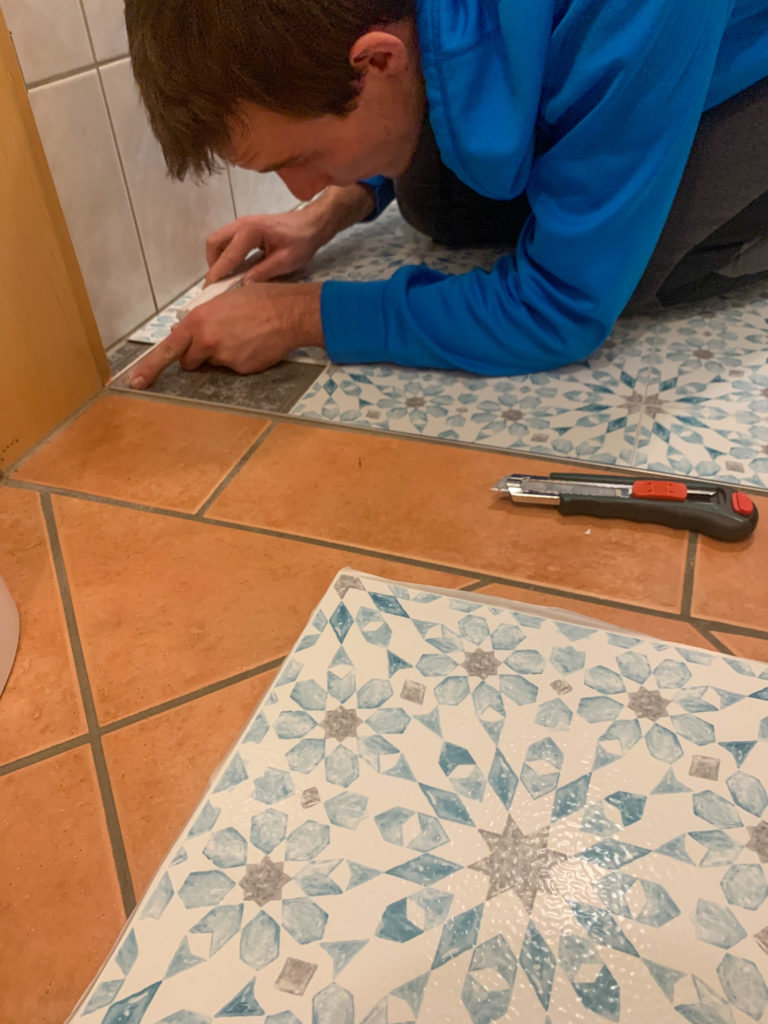
This is definitely the most time consuming part. Mainly because my husband is an engineer and every measurement and cut had to be perfect – haha. We just used an exacto-knife and a measure tape to measure out where we would need to make the cuts. Then you just score the tile (don’t cut all the way through it, it will be too difficult) and then just bend the tile until the cut piece breaks off. The tiles cut really well and actually they looked great once we had all the pieces down!
Fifth Step – Admire your work!
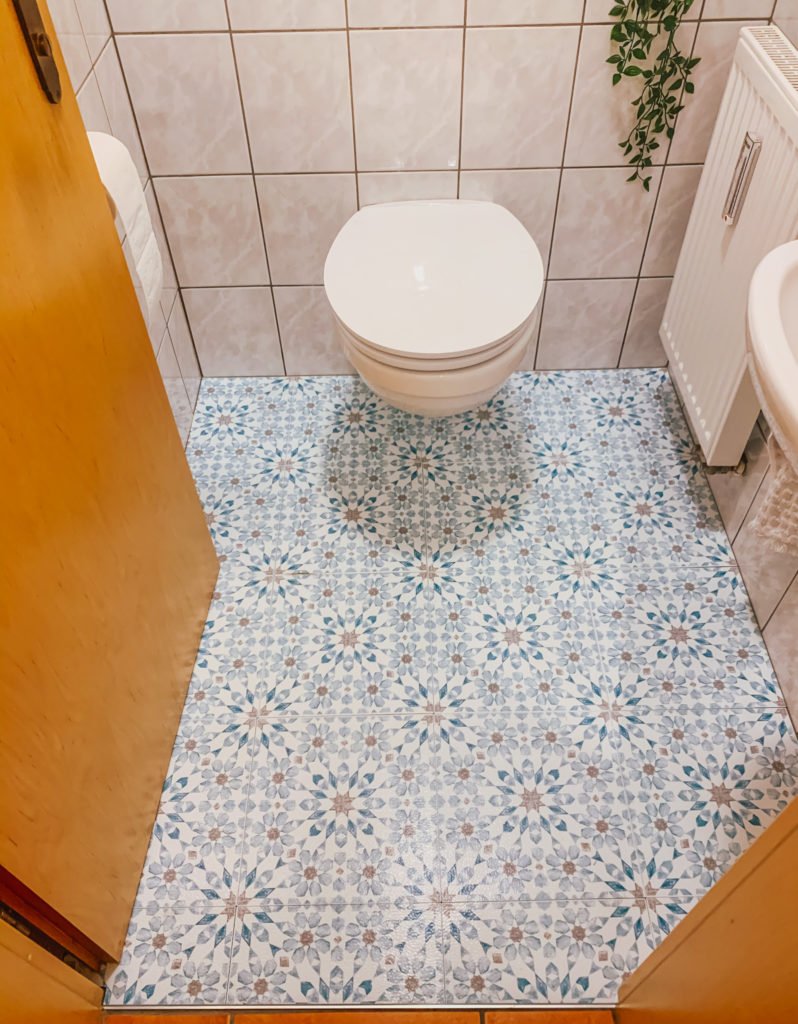
Now comes the fun part! You get to admire the work you did! Woohoo! Overall, I am so happy with the way that the WallPops Floor Tiles turned out. I think they totally change the look of the room. It is much more bright and cheerful now.
Overall Cost
The tiles cost us a total of 39.25€. Which includes the tiles and the rug tape that I bought with them. We only needed two packs of the floor tiles and we had two left over. Granted the room is small but it was such a great deal for such little work and money!
Overall Impression of the WallPops Floor Tile Stickers
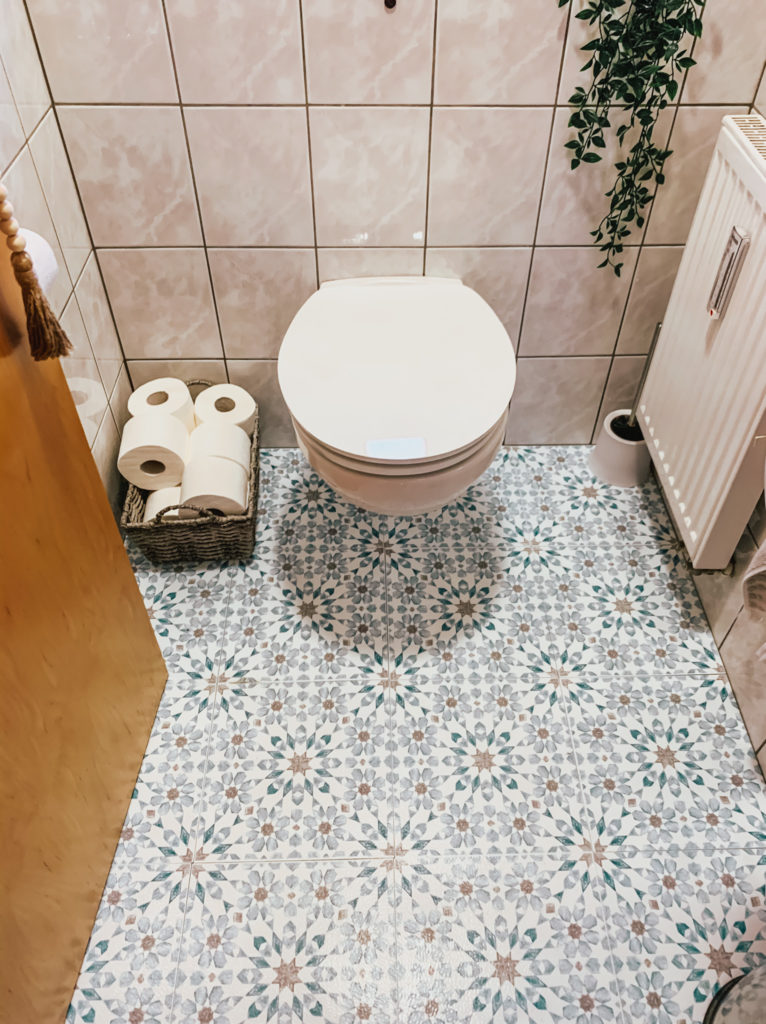
We have had the tiles down for about two months now, and so far they are holding up really well. We did have one tile that lifted a bit. I believe it was because there was some water spilled that wasn’t wiped up and it made the tile lift.
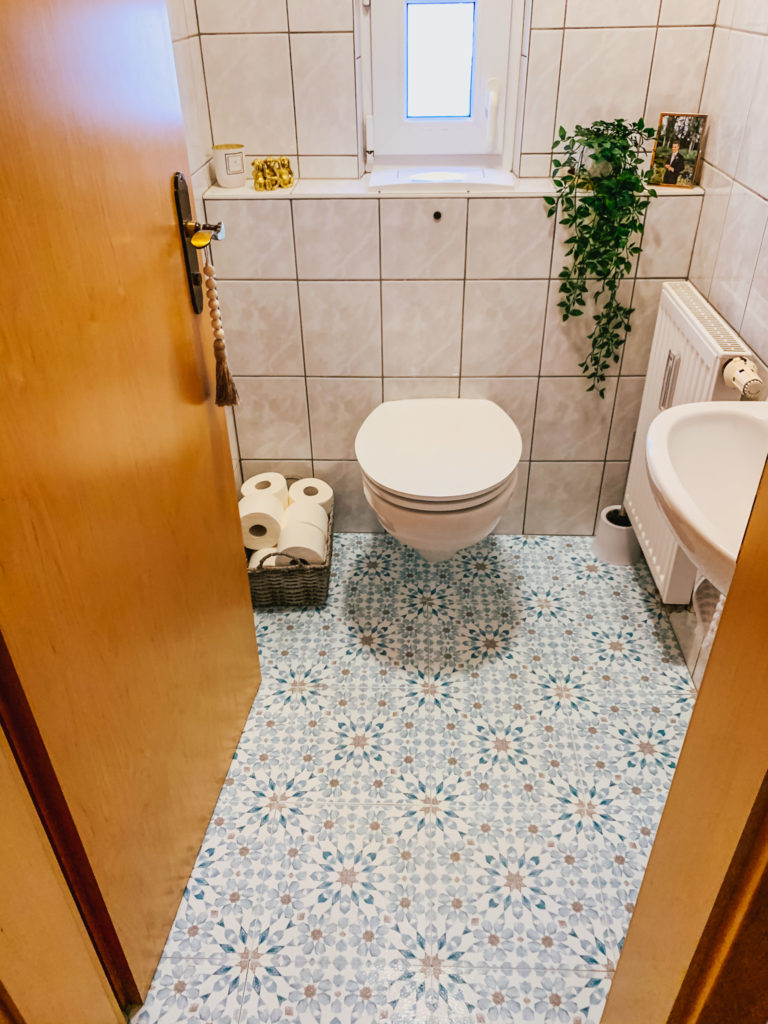
It was a pretty easy fix to get it back down. I simply pulled the tile about halfway up, made sure it was super dry and clean. Then I used a rug tape to place the tile back down. It has been about a month since this happened and it hasn’t lifted again.
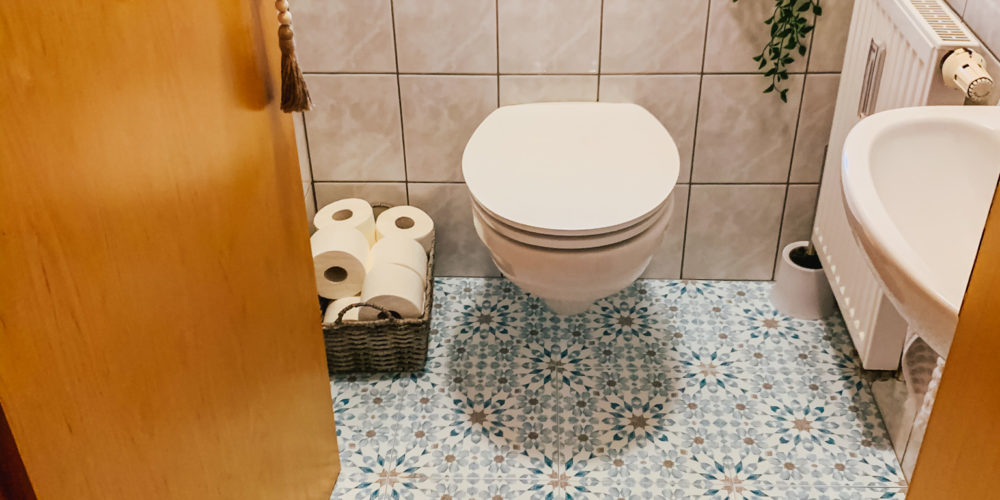
I highly recommend the WallPops Floor Tiles to anyone who has a small space they are wanting to redo. However, I am not sure I would add these to a super high traffic area. I just am not sure they would hold up. The tiles claim to be water proof but since one of ours lifted after getting wet, I am not entirely sure that is true. But they are such a low cost, that it would be worth giving it a try if you had a space you were dying to redo!
Before and After:

Before 
After






Can this tile be used over a fireplace that has ceramic tile?
This stuff is junk, won’t stick!